How to get rid of german roaches permanently comes down to two things: eliminating the breeding population and removing what keeps them alive in your home. German roaches multiply fast, hide in tight cracks, and learn to avoid sloppy treatments. If you only spray, you’ll usually scatter them and create a long, frustrating cycle.
You’re going to win by working in a sequence: confirm the pest, prep the space, map the hotspots, remove food and water, then use baits and long-lasting products that reach the whole colony. After that, you’ll seal entry points and monitor so a small rebound doesn’t become a full restart.
Look, this isn’t about one “magic” product. It’s about a clean setup and consistent follow-through over 2–6 weeks.
Confirm You’re Dealing With German Roaches
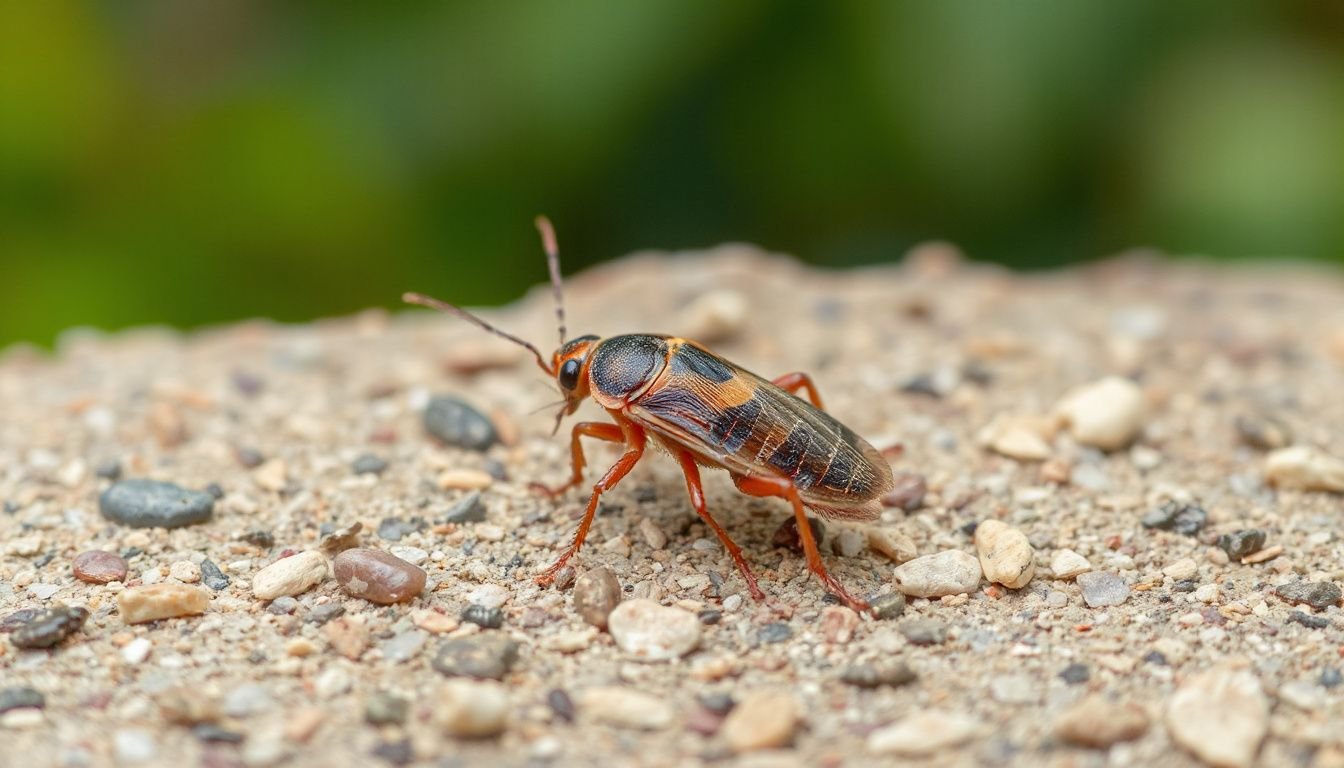
Correct ID matters because German roaches respond best to baits and growth regulators, not heavy spraying. Adults are small (about 1/2 inch), light brown, with two dark stripes behind the head. You’ll usually see them in kitchens and bathrooms, especially at night.
Check for clear signs before you spend money:
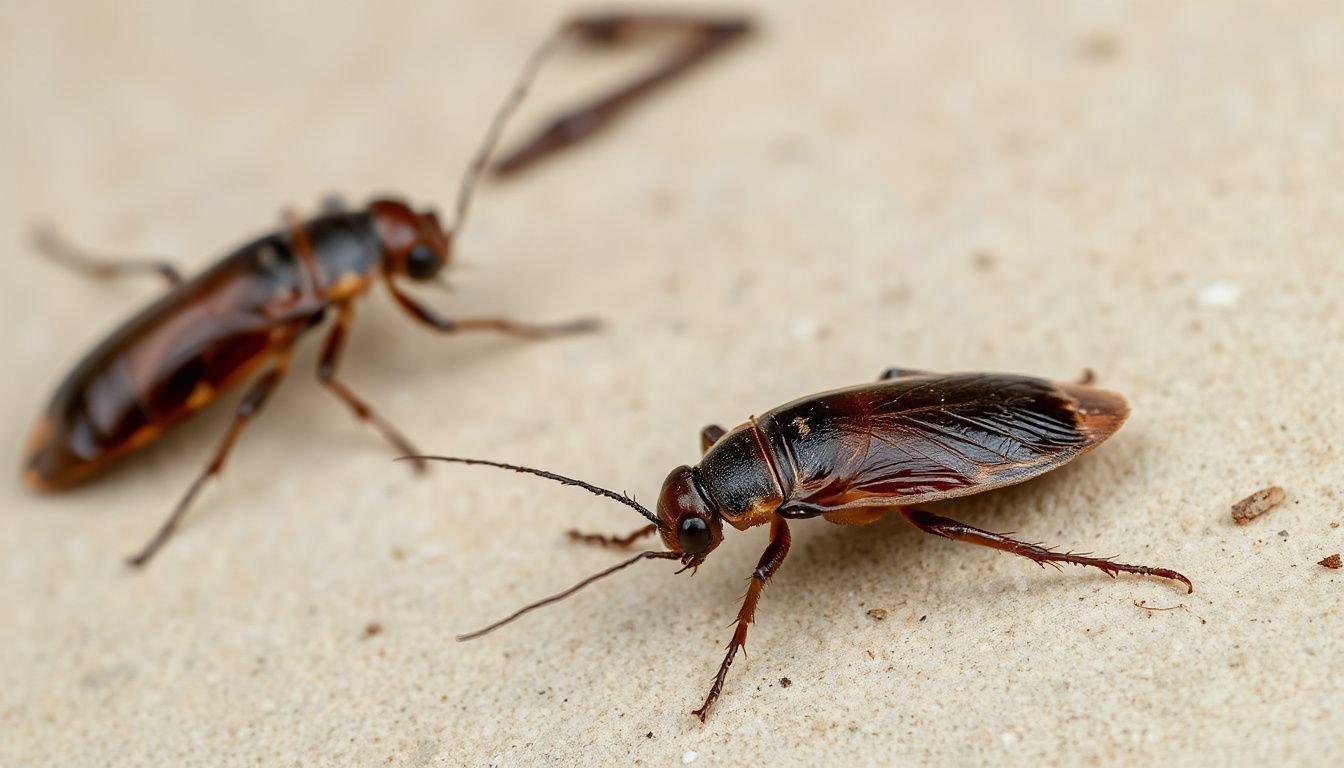
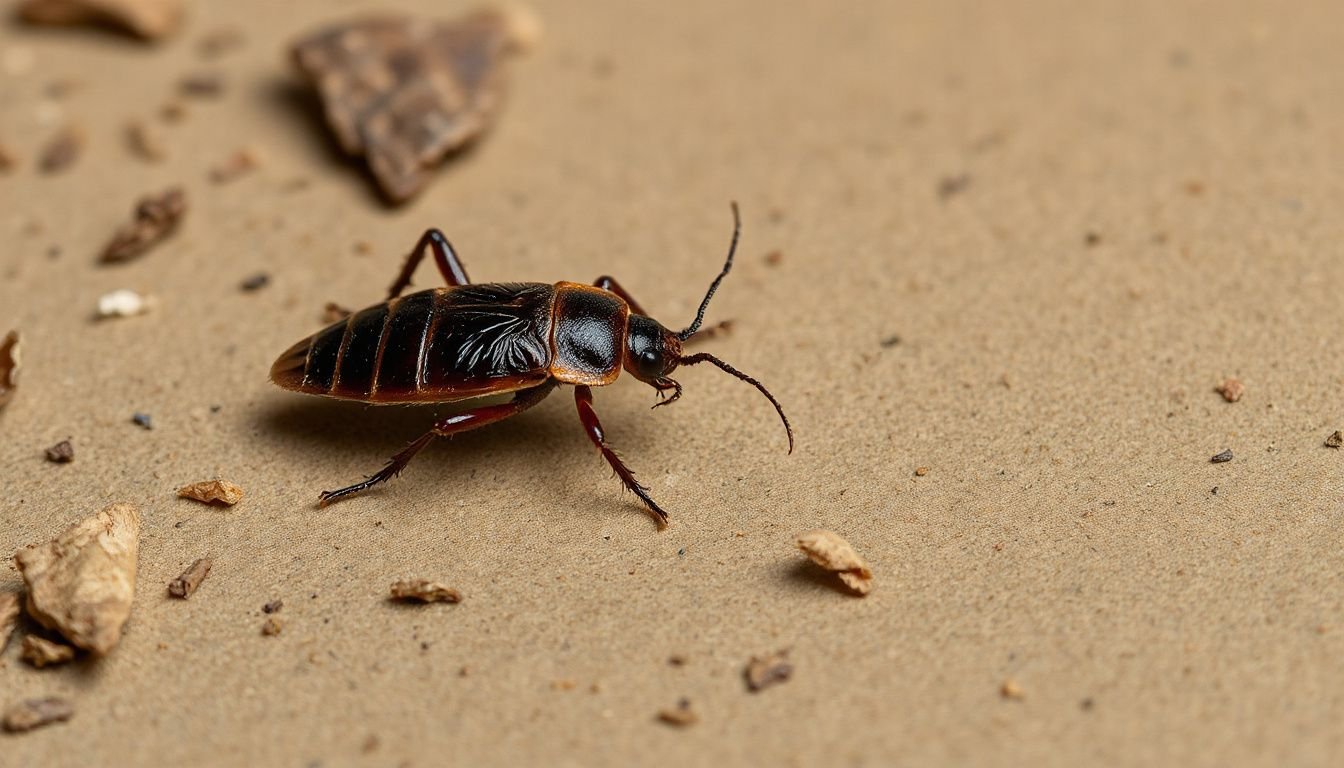
- Live nymphs (tiny, dark, fast) near appliances or sinks
- Pepper-like droppings in drawers, hinges, and cabinet corners
- Egg cases (tan, ridged) in cracks or behind warm electronics
- Musty odor in heavy infestations
Common mistake: treating “a few roaches” without checking behind the fridge and under the sink. That’s where the population usually is.
Before You Start: Gather Supplies and Protect Pets
Once you begin, you want to move fast and avoid switching products midstream. Gather your tools first, then keep kids and pets away from treated areas until products dry or are placed out of reach.
- High-quality gel bait (roaches share it through feeding and droppings)
- IGR (insect growth regulator) spray or point-source discs
- Dust (boric acid or silica/diatomaceous earth labeled for roaches)
- Sticky monitors, flashlight, vacuum, trash bags, caulk
Pro tip: Use a bait rotation plan only if performance drops after 10–14 days. Constantly changing products too early makes it hard to know what’s working.
Common mistake: using strong cleaners or repellant sprays right where you’ll bait. Repellency can reduce feeding.
Inspect and Map Hotspots, Nests, and Travel Routes
You’re not treating “the kitchen.” You’re treating specific hiding zones and the paths between them. Start at night with a flashlight, then inspect during the day with drawers removed and appliances pulled out safely.
Focus your search on warmth, moisture, and tight gaps:
- Behind and under the refrigerator, stove, dishwasher, and microwave
- Under sinks, around plumbing penetrations, and in cabinet corners
- Inside appliance voids (coffee maker area, toaster storage, motor housings)
Place 6–12 sticky monitors along edges and near suspected routes. Label each with location and date so you can measure progress weekly.
Pro tip: If you find many small nymphs but few adults, you’re close to a nest. Concentrate bait and IGR within 3–6 feet of that zone.
Deep-Clean to Remove Food, Water, and Hiding Places
Cleaning doesn’t “kill the infestation,” but it makes your baits irresistible and removes the resources that keep roaches breeding. You’re aiming for dry, crumb-free surfaces and fewer cluttered harborage spots.
- Vacuum droppings, dead roaches, and debris from cracks, hinges, and appliance gaps.
- Degrease stove sides, backsplash edges, and cabinet seams.
- Store all food in sealed containers; remove cardboard and paper piles.
- Fix drips, wipe sinks dry nightly, and limit pet food to scheduled meals.
Common mistake: leaving a water source. One slow leak under the sink can keep a colony thriving even with good baiting.
Pro tip: After vacuuming, immediately bag and remove the vacuum contents outside. Roaches and egg cases can survive inside.
Apply Gel Baits Correctly for Colony-Level Control
Gel bait is your primary “colony mover.” Roaches feed on it, then spread the active ingredient through feces and regurgitation. Placement beats quantity. You want many small placements in the right spots, not big blobs.
- Apply pea-sized dots every 12–24 inches along cabinet seams and corners.
- Bait behind the fridge (compressor area perimeter), under the sink, and near trash pull-outs.
- Keep bait off hot surfaces and away from areas you’ll scrub with bleach.
Practical example: If you’re seeing roaches when you turn on the kitchen light at 11 p.m., pull the fridge out the next morning. Vacuum the back panel area, then place 10–15 small bait dots around the edges and nearby cabinet base seams. Add a monitor behind the fridge and check it in 72 hours.
Common mistake: spraying insecticide near bait. Many sprays repel roaches and reduce bait feeding.
Add Growth Regulators and Dust for Long-Lasting Results
To make “permanent” realistic, you need to stop reproduction and cover voids where gel can’t go. Use an IGR to prevent nymphs from becoming breeding adults, then use dust lightly in wall voids and cracks for residual control.
- Apply IGR per label in hotspots and along baseboards behind appliances.
- Use a hand duster to apply a thin film of dust in cracks, not piles.
- Target: under cabinet toe-kicks, around pipe chases, and inside gaps behind outlets (power off first).
Pro tip: Dust works best when it’s barely visible. Overapplying makes roaches avoid it and creates a mess.
Common mistake: skipping IGR. Without it, surviving nymphs can rebuild the infestation quickly.
Seal Gaps, Prevent Reinfestation, and Monitor Progress
After baiting begins (typically 3–7 days in), start exclusion. You’re cutting off hiding places and blocking movement from neighboring units or shared walls. Keep monitoring so you catch rebounds early.
- Caulk cabinet seams, baseboard gaps, and openings around plumbing.
- Add door sweeps and fix loose thresholds near kitchens and bathrooms.
- Keep monitors in place for 4–6 weeks; replace when dusty or full.
| Timeline | What you should see |
|---|---|
| Days 1–3 | Less nighttime activity near baited zones |
| Week 1–2 | Fewer nymphs; monitor counts drop noticeably |
| Week 3–6 | Near-zero captures; isolated sightings only |
Common mistake: stopping after a “quiet week.” Keep bait available and monitors active until captures stay near zero for at least 2–3 weeks.
Putting It Into Practice
You get permanent results when you treat German roaches like a system: deny food and water, bait for transfer kill, block reproduction with IGR, and lock down hiding spots with dust and sealing. Start with inspection and cleaning, then place gel bait in many small dots where roaches travel. Layer in IGR and a light dust application in voids.
Now set a simple schedule: check monitors weekly, refresh bait as it dries or gets consumed, and keep sinks dry at night. If you live in an apartment, coordinate with management for adjacent-unit treatment, since reinfestation often comes through shared walls. Stay consistent for 4–6 weeks, then keep a few monitors as an early-warning system.